The French braid is a beautiful and classic hairstyle. If we talk about a french braid, it may appear complicated to make, but we have some very easy methods that shows it’s nearly effortless to pull off. And it will solve that bad hair day confusion in a very short period of time. We came up with some very simple methods on how to tie a perfect classic french braid.
Here listing step by step methods on how to make a pretty french braid:-
Contents
1. Brush Your Hair At First

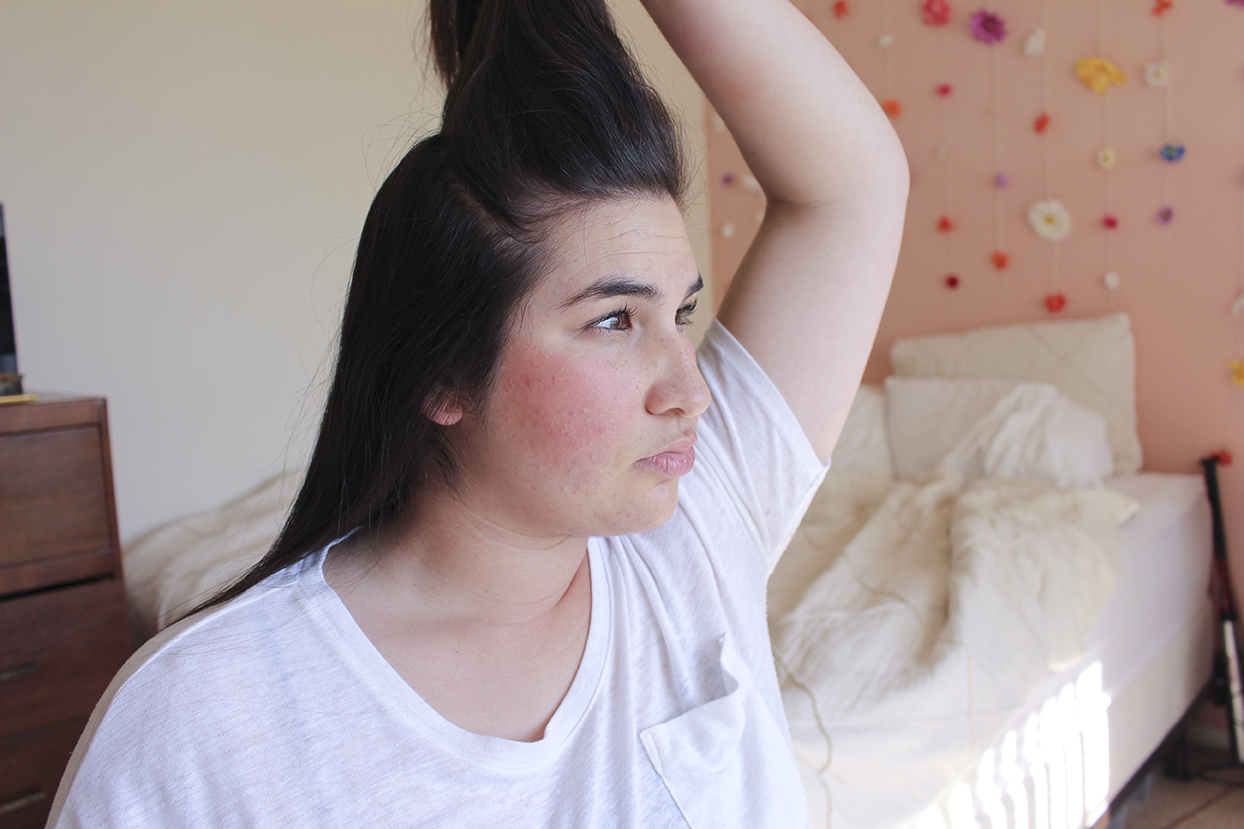
Start with combing your hair to make them smooth, tangle free and ready to braid. For making comb your hair backwards away from your forehead.
2. Do The Sectioning

Once you are done with combing your hair backwards, start sectioning your hair. As we know we will need three sections of the hair to make a french braid. So divide your hair into three sections.
3. Begin With A Classic Braid Style
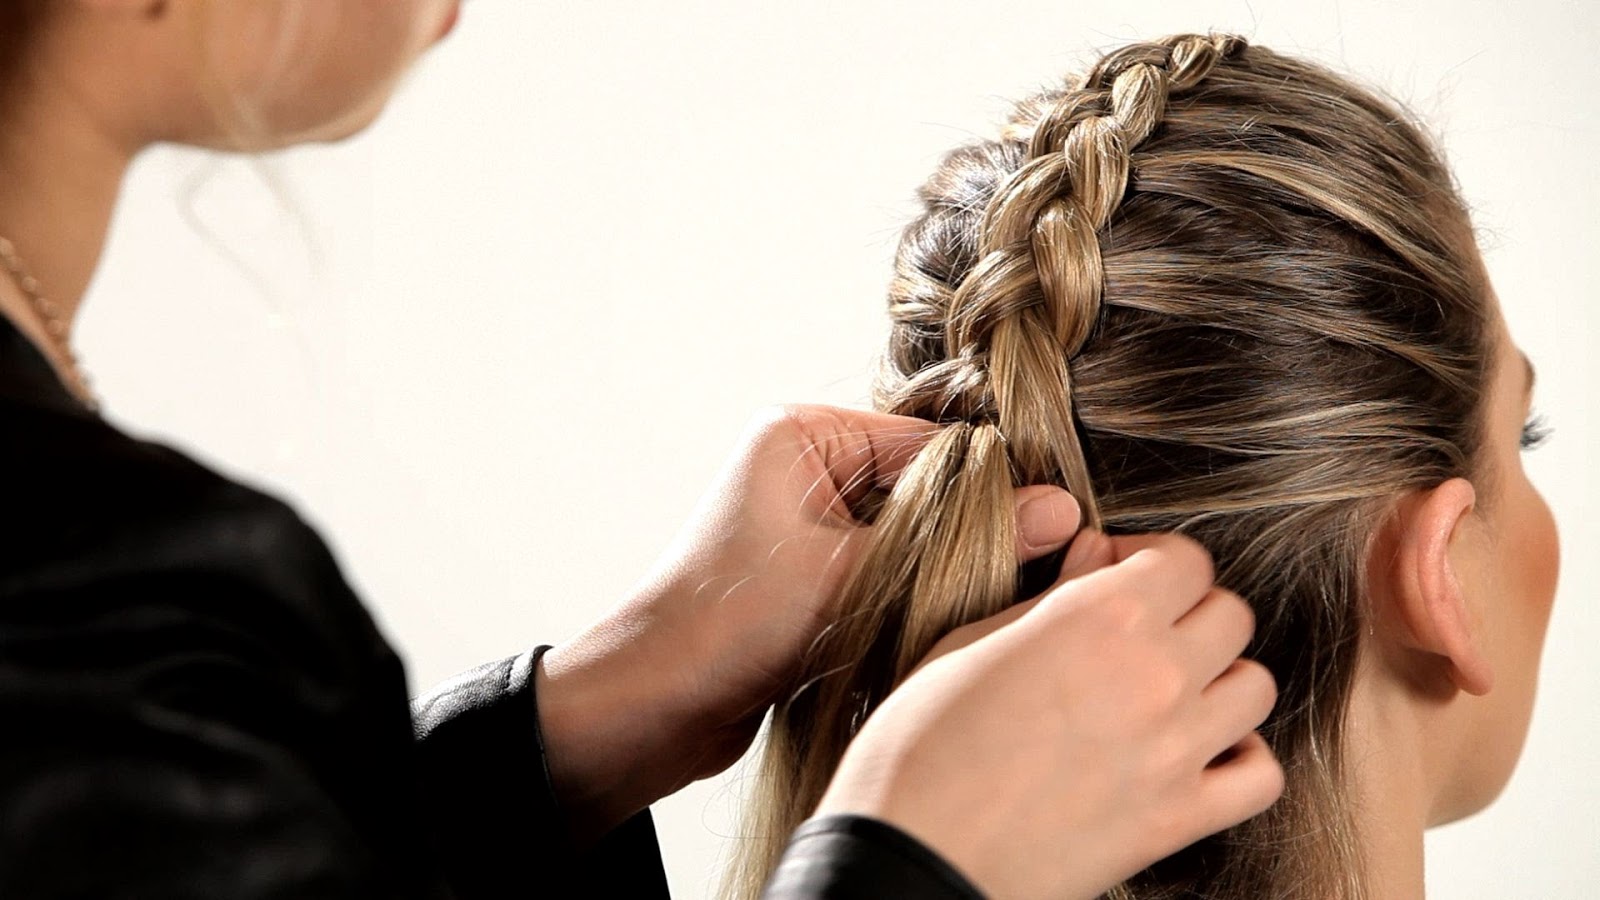
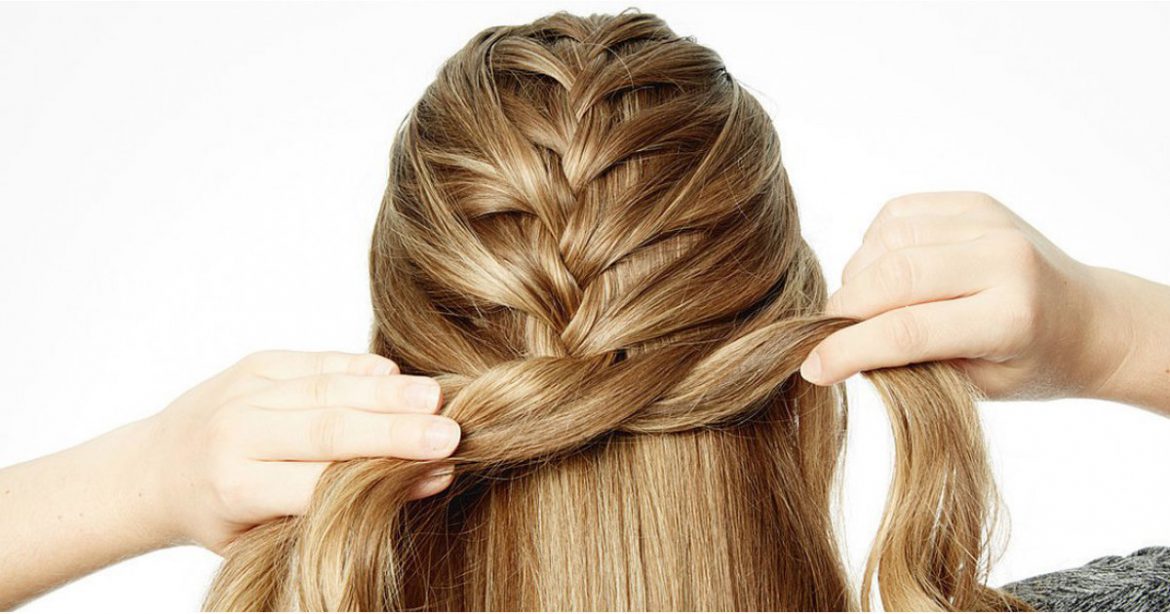
To begin making the braid, start with a classic simple braid. Cross right section over middle section, then repeat this move with left section, smoothing hair down as you go. Pull sections tightly because you don’t want the braid to be loose and look messy and done properly.
4. Adding More Hair To The Sections

Keep going with this traditional braid pattern, but start bringing in other pieces of hair. Before crossing a section over to center, grab some hair from that side of your head and include it in the cross-over. Every time you cross over, work in another small piece of hair. The more smaller piece you pick the more fine french braid you will get.
5. Repeat Hair Adding And Crossing Sections

Repeat earlier steps of adding hair and crossing sections until you’ve gathered in all additional hair strands.
6. Finish The Braid

Once you have added all the additional hair in the braid, you are done with your french braid. Finish your braid with a regular hair band.
So here were 6 easy steps of making a classic french braid. Try this out and share it with your friends. 🙂


